AWS CodeDeploy
AWS CodeDeploy Setup
- In the search bar, type
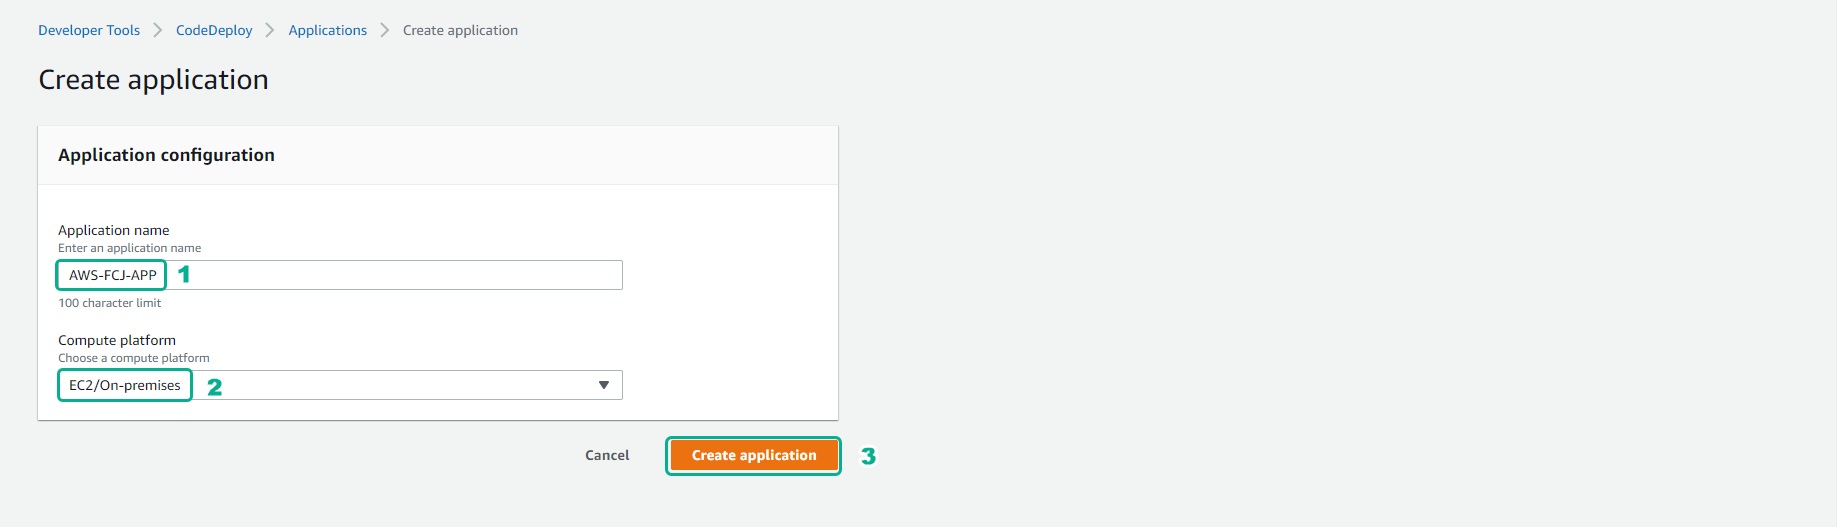
CodeDeployand click on CodeDeploy in the search results. In the CodeDeploy console, click on Create application.
- In the Create application interface:
- For Application name, enter
AWS-FCAJ-PIPELINE - For Compute platform, choose EC2/On-Premises
- Click on Create application
In CodeDeploy, an Application is a logical entity that uniquely identifies the application you want to deploy. It acts as a container for your deployment groups and deployment revisions.
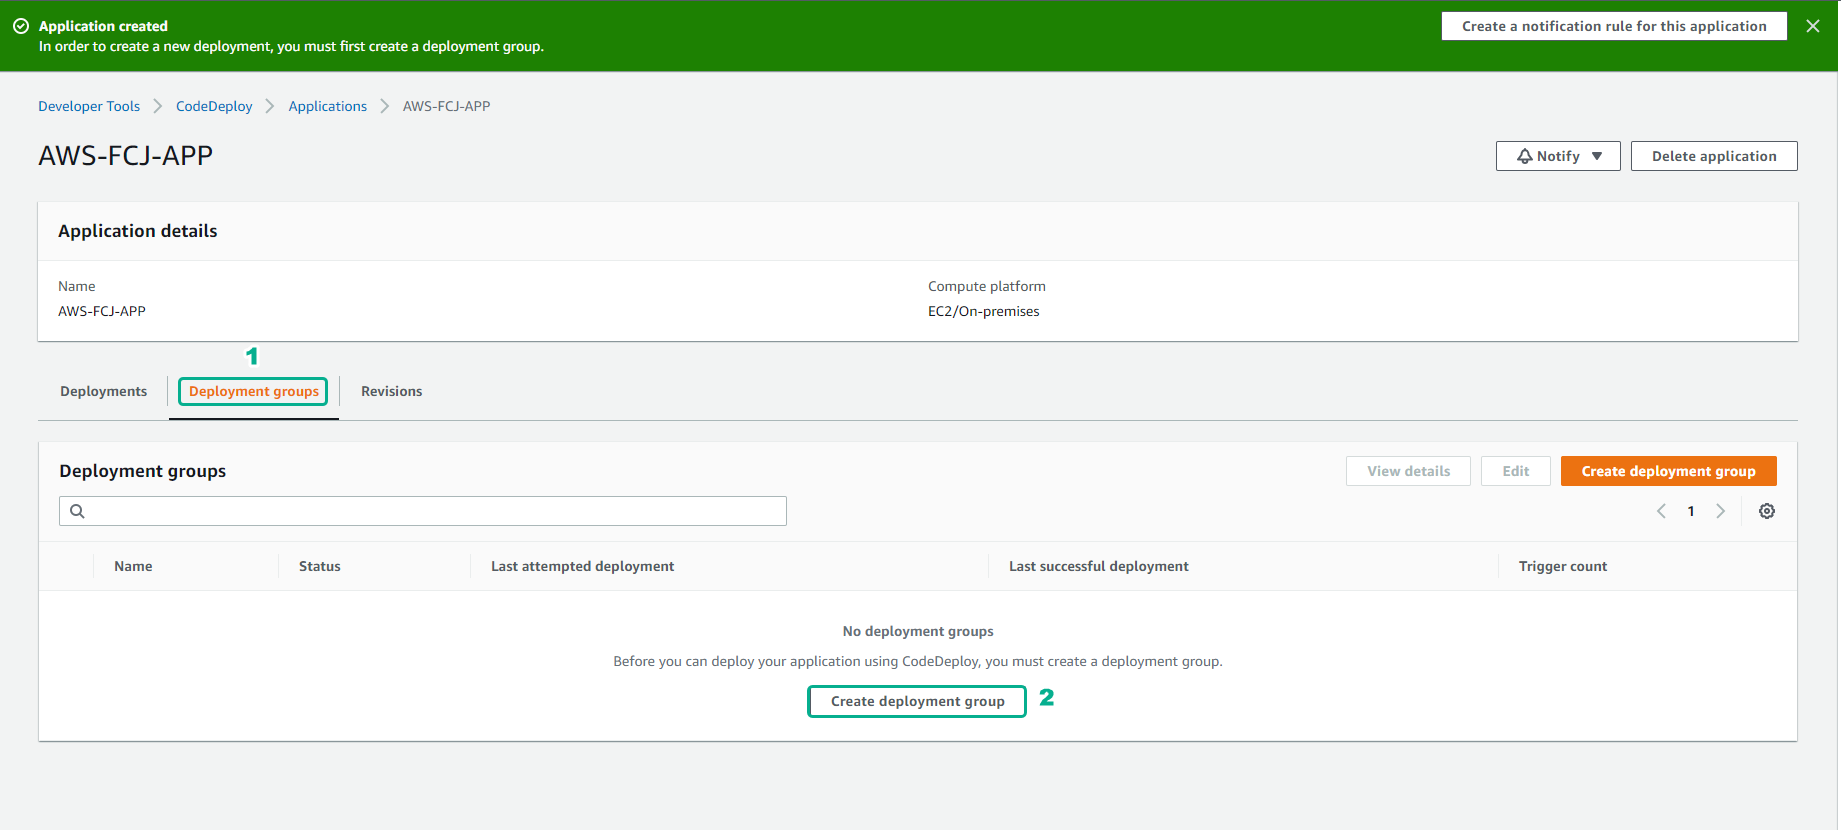
- Your application is successfully created. Next, click on Create deployment group.
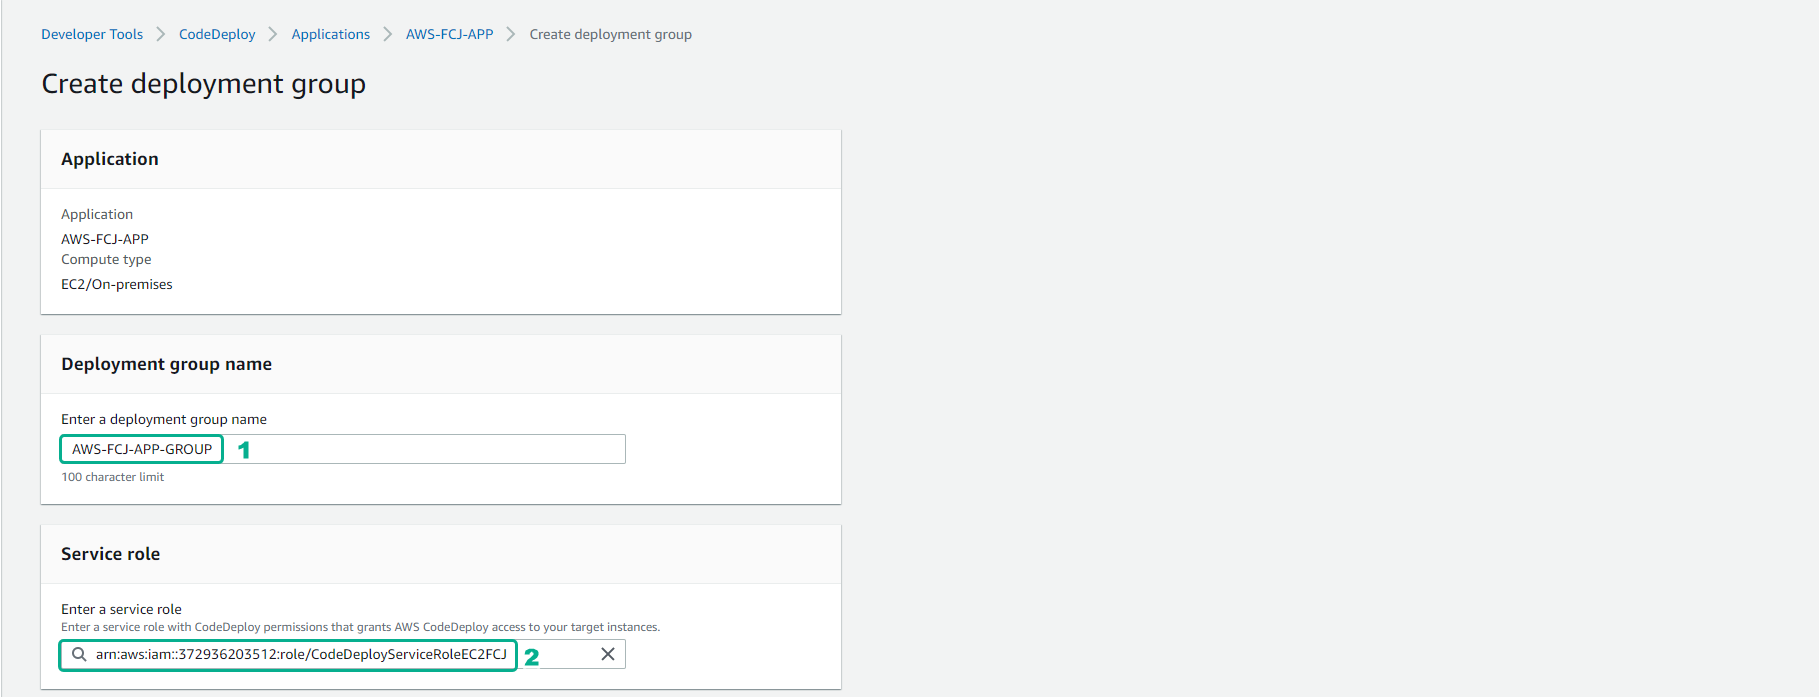
- In the Create deployment group interface:
- For Deployment group name, enter
FCAJ-DEV-GROUP - For Service role, choose the CodeDeployServiceRole created in the previous step
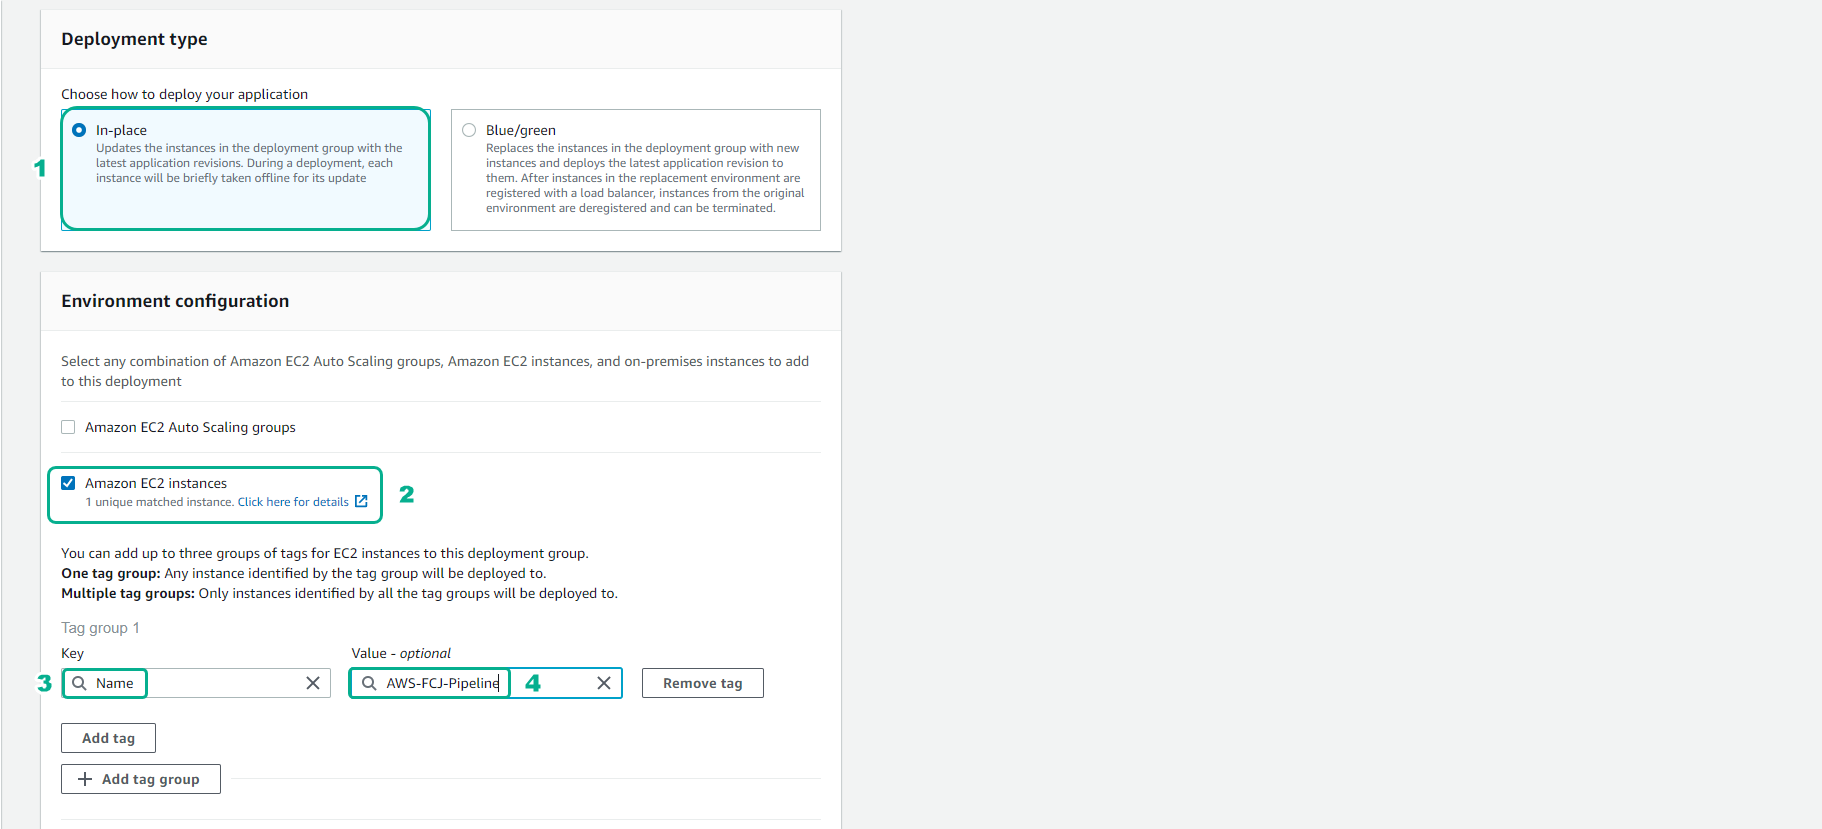
- For Deployment type, choose In-place
- For Environment configuration, choose Amazon EC2 instances
Ensure that the selected IAM Service Role has the AWSCodeDeployRole policy attached. CodeDeploy uses this role to read EC2 tags and identify the target instances for deployment.
- Scroll down to configure the instance tags:
- Under Amazon EC2 instances, input the correct Key and Value of the Tag you previously assigned to your EC2 instance.
CodeDeploy relies entirely on these tags to find your EC2 instance. If the Key or Value is misspelled, or case-sensitive characters don’t match, CodeDeploy will report that it found and the deployment will fail.
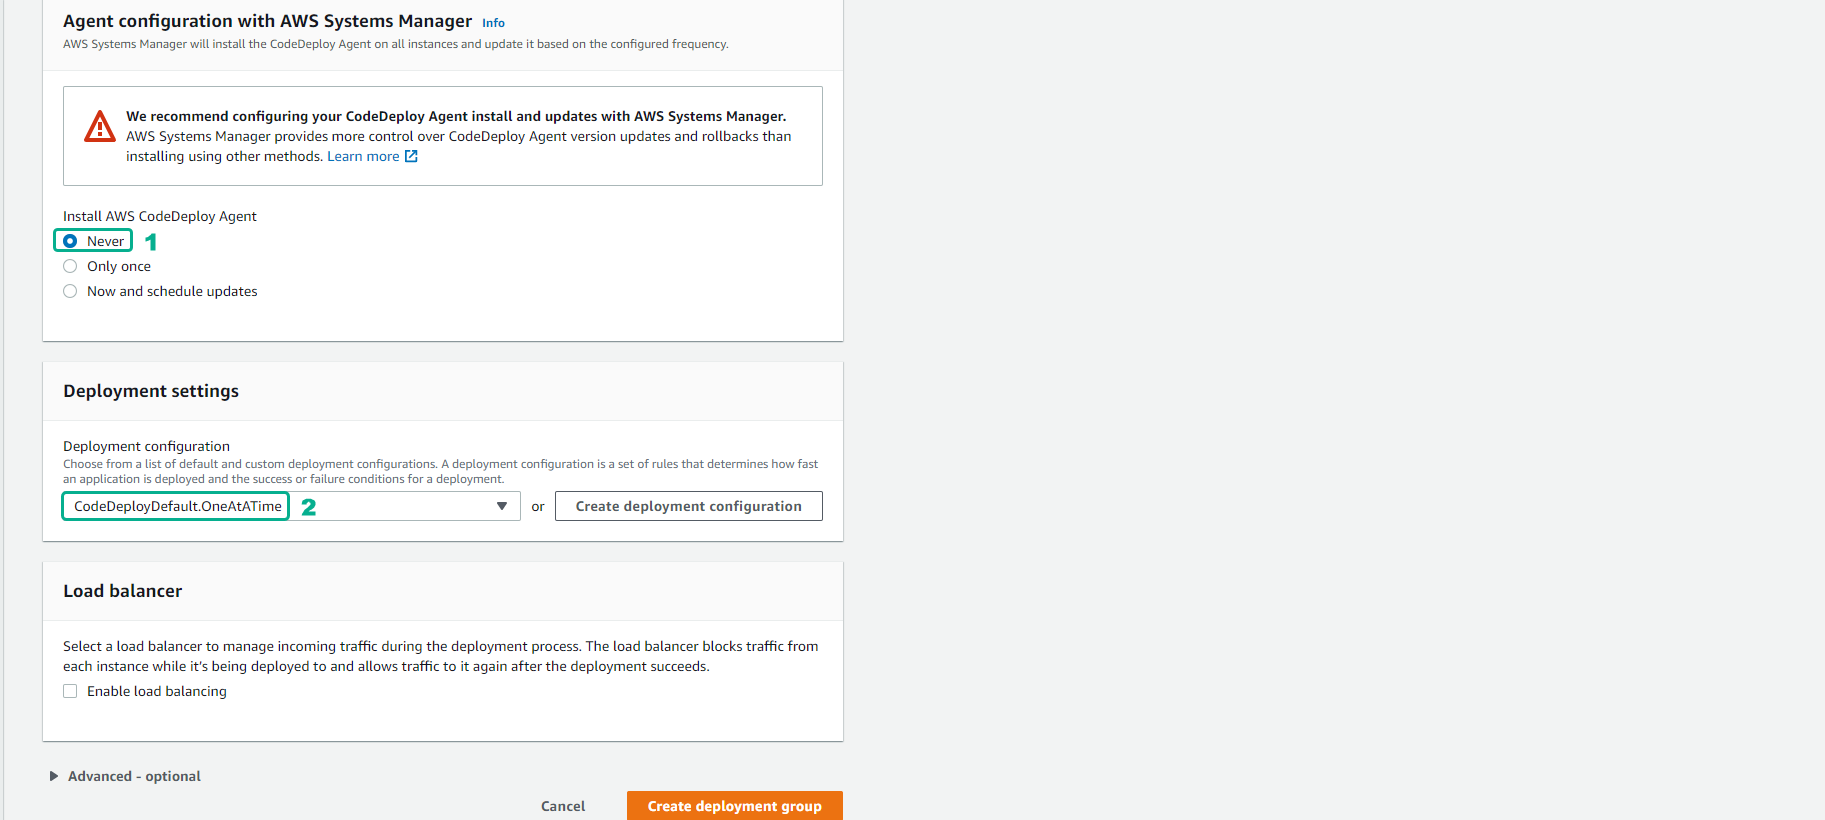
- Scroll down to Agent configuration with AWS Systems Manager:
- For Install AWS CodeDeploy Agent, choose Never
- For Deployment settings, select CodeDeployDefault.AllAtOnce
- Under Load balancer, uncheck Enable load balancing (since we are deploying to a single instance without an Application Load Balancer)
- Finally, click Create deployment group
We select Never for installing the AWS CodeDeploy Agent because we already manually installed and started the agent on our EC2 instance during the previous setup phase.
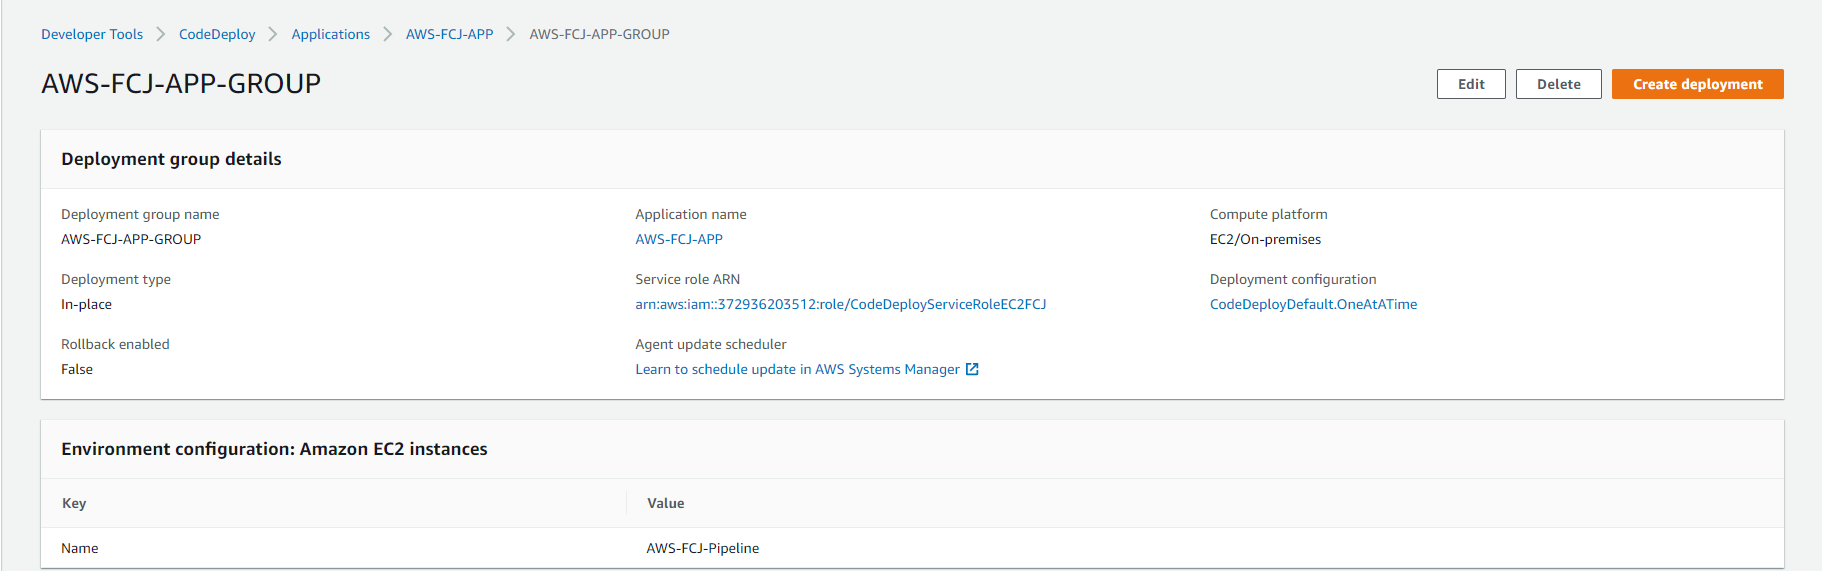
- You have successfully created the Deployment group.
Creating a manual deployment
- Before creating a deployment, we need a deployment revision. Zip the FCAJ-PIPELINE-LAB23 folder into FCAJ-PIPELINE-LAB23.zip and upload it to the S3 bucket created in step 2.2. Go to the S3 console, select your bucket, click on Upload, and upload the FCAJ-PIPELINE-LAB23.zip file.
CodeDeploy requires an application revision—an archive containing your source code and the appspec.yml file—to perform a deployment. The appspec.yml file tells CodeDeploy what to install and which scripts to run at each lifecycle event.
- Return to the CodeDeploy > Applications page and select your application (
AWS-FCAJ-APP).
- Select your newly created deployment group.
- Click on Create deployment.
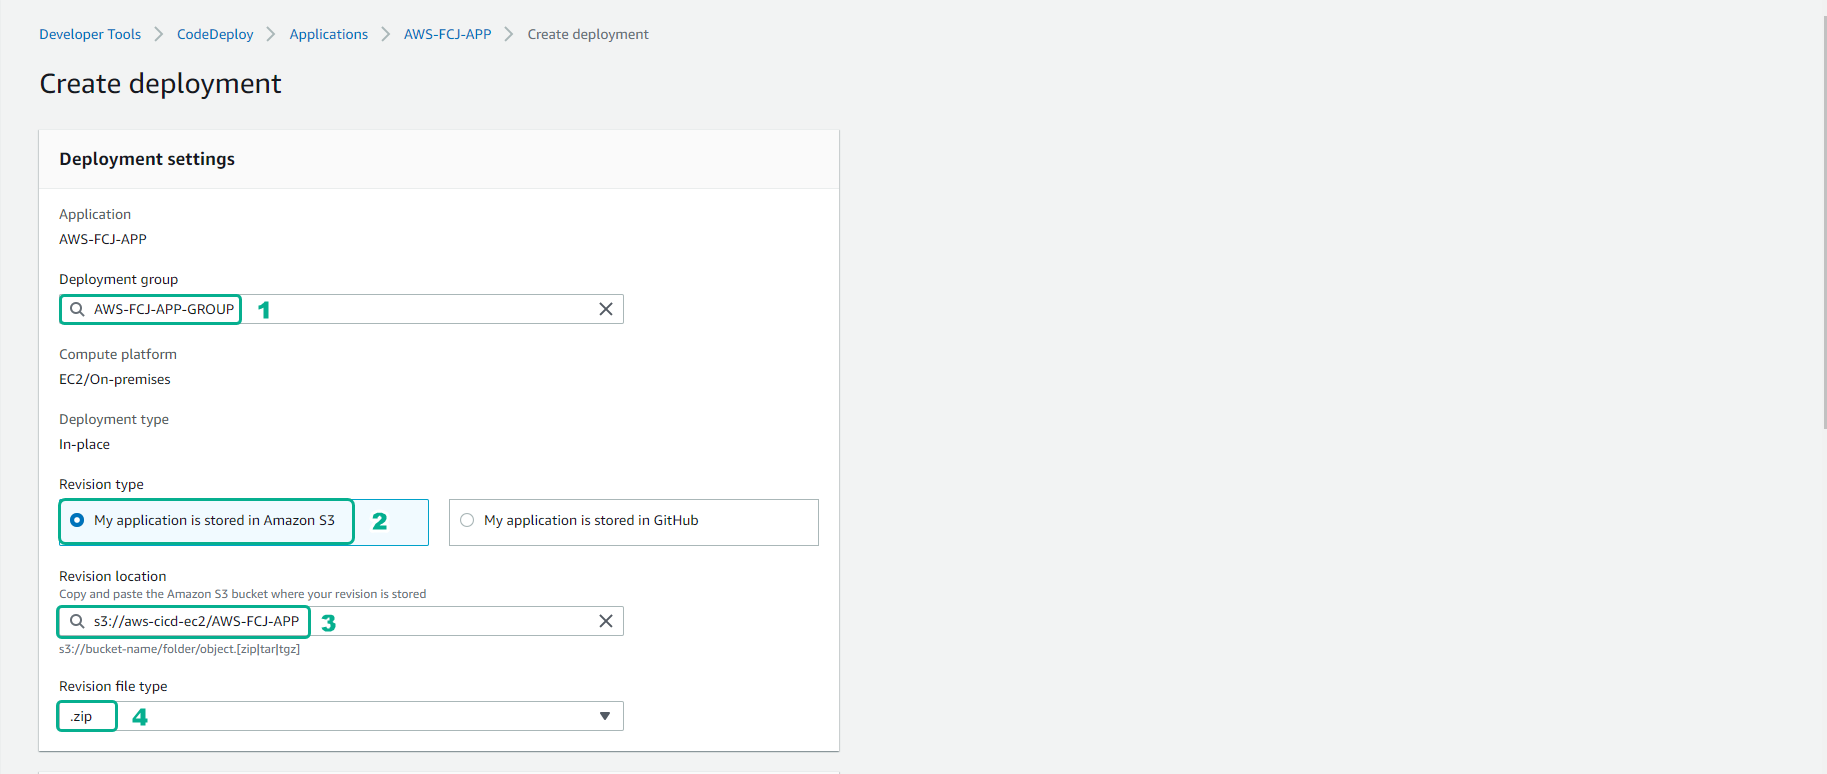
- Provide the Create deployment information:
- Deployment group: FCAJ-DEV-GROUP
- Revision type: My application is stored in Amazon S3
- Revision location: Enter the S3 URI of your uploaded .zip file (e.g., s3://your-bucket-name/FCAJ-PIPELINE-LAB23.zip)
- Revision file type: .zip
You can quickly find the exact S3 URI by opening a new tab, going to the S3 Console, selecting your uploaded FCAJ-PIPELINE-LAB23.zip file, and clicking Copy S3 URI.
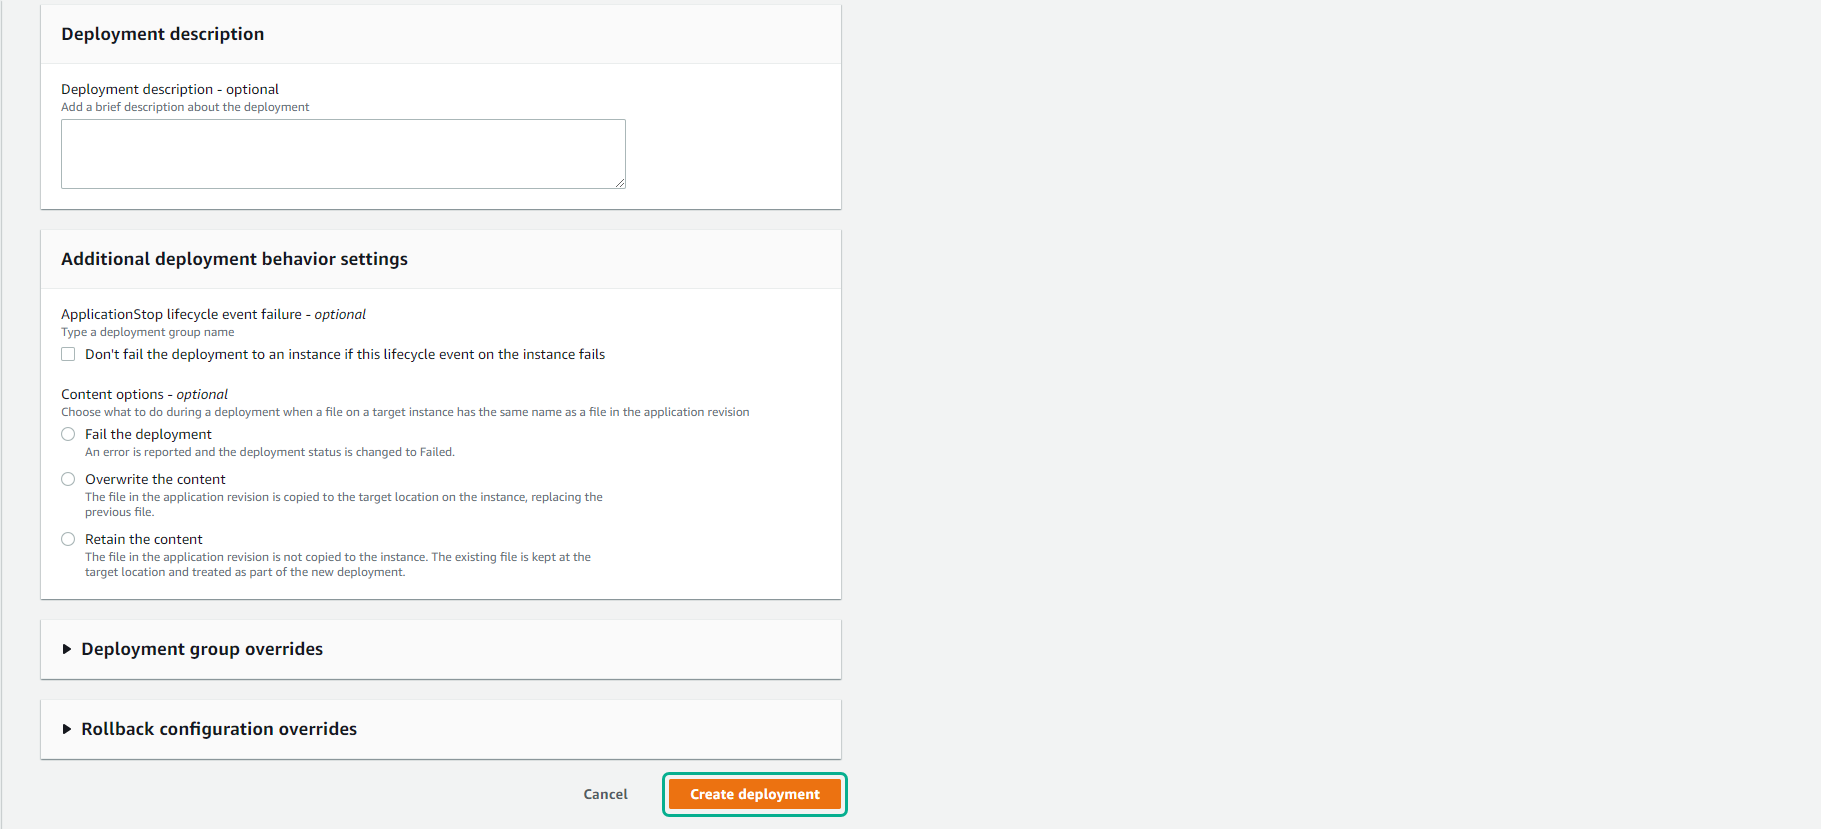
- Double check your configuration, scroll to the bottom, and click Create deployment.
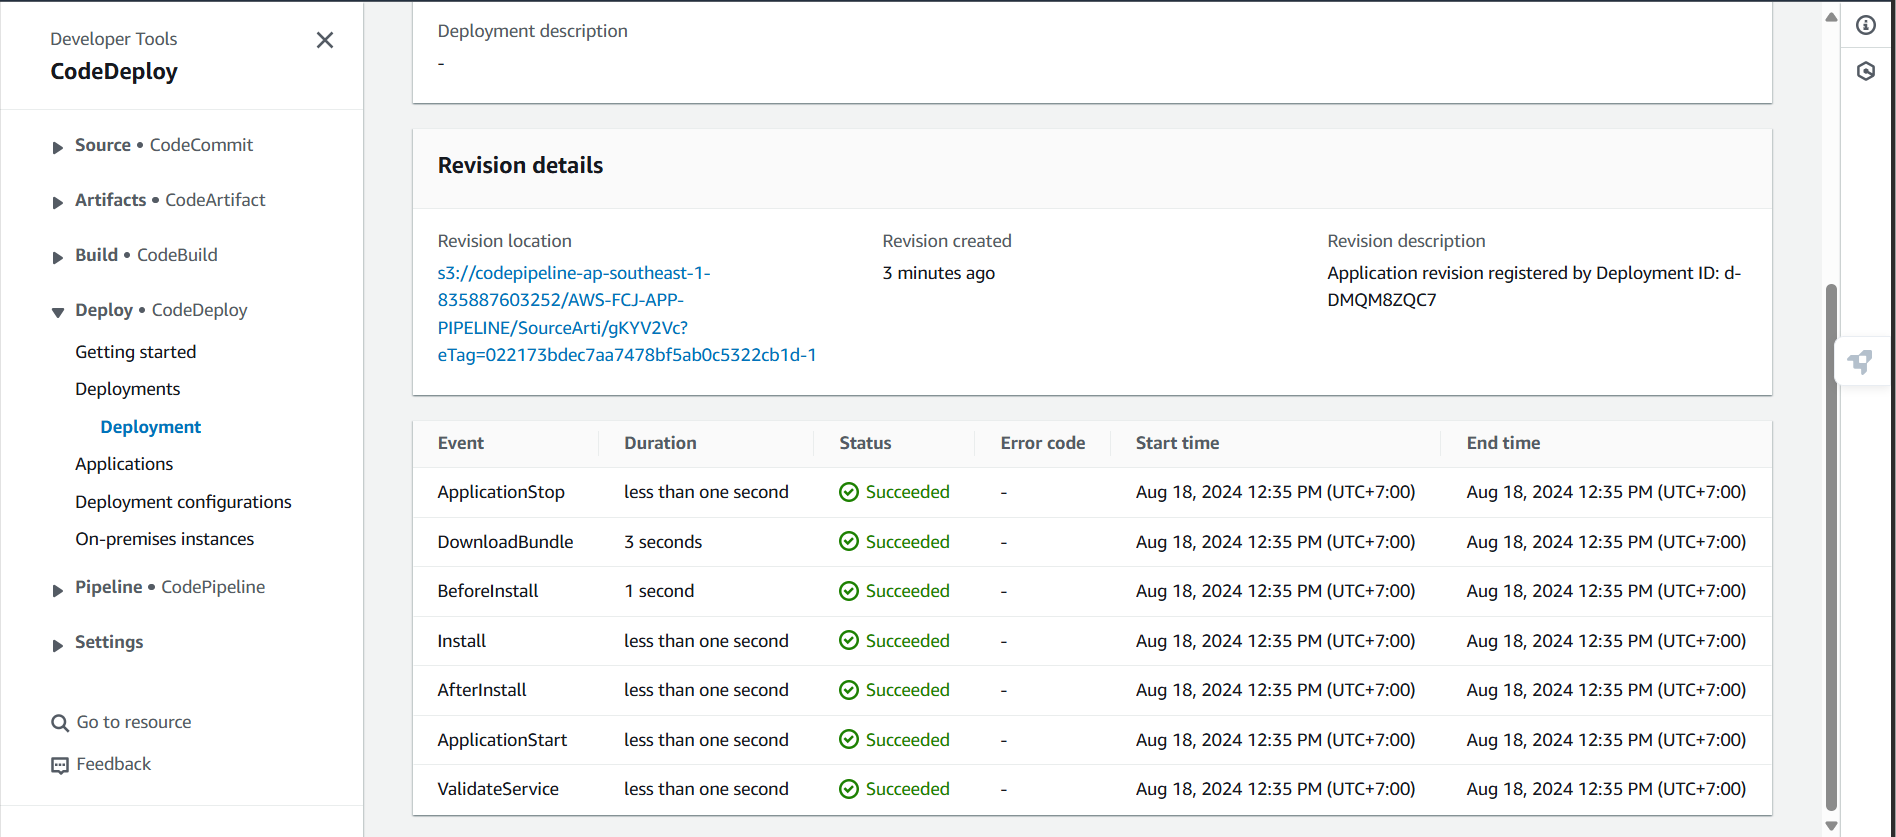
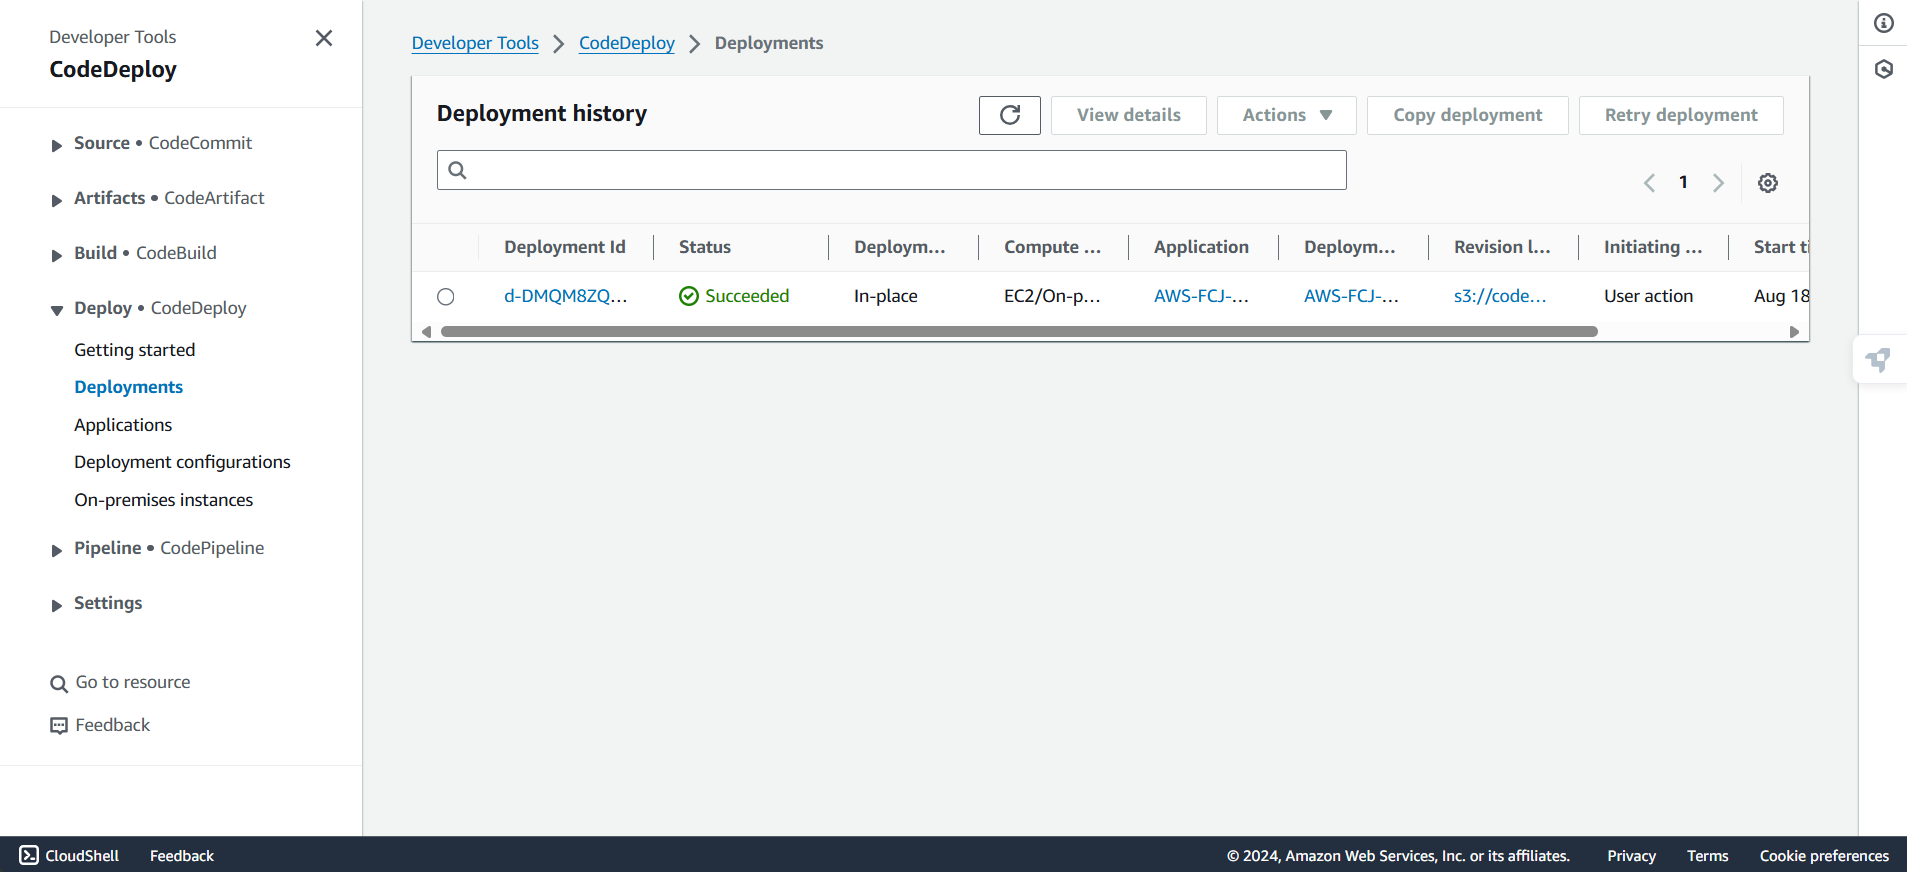
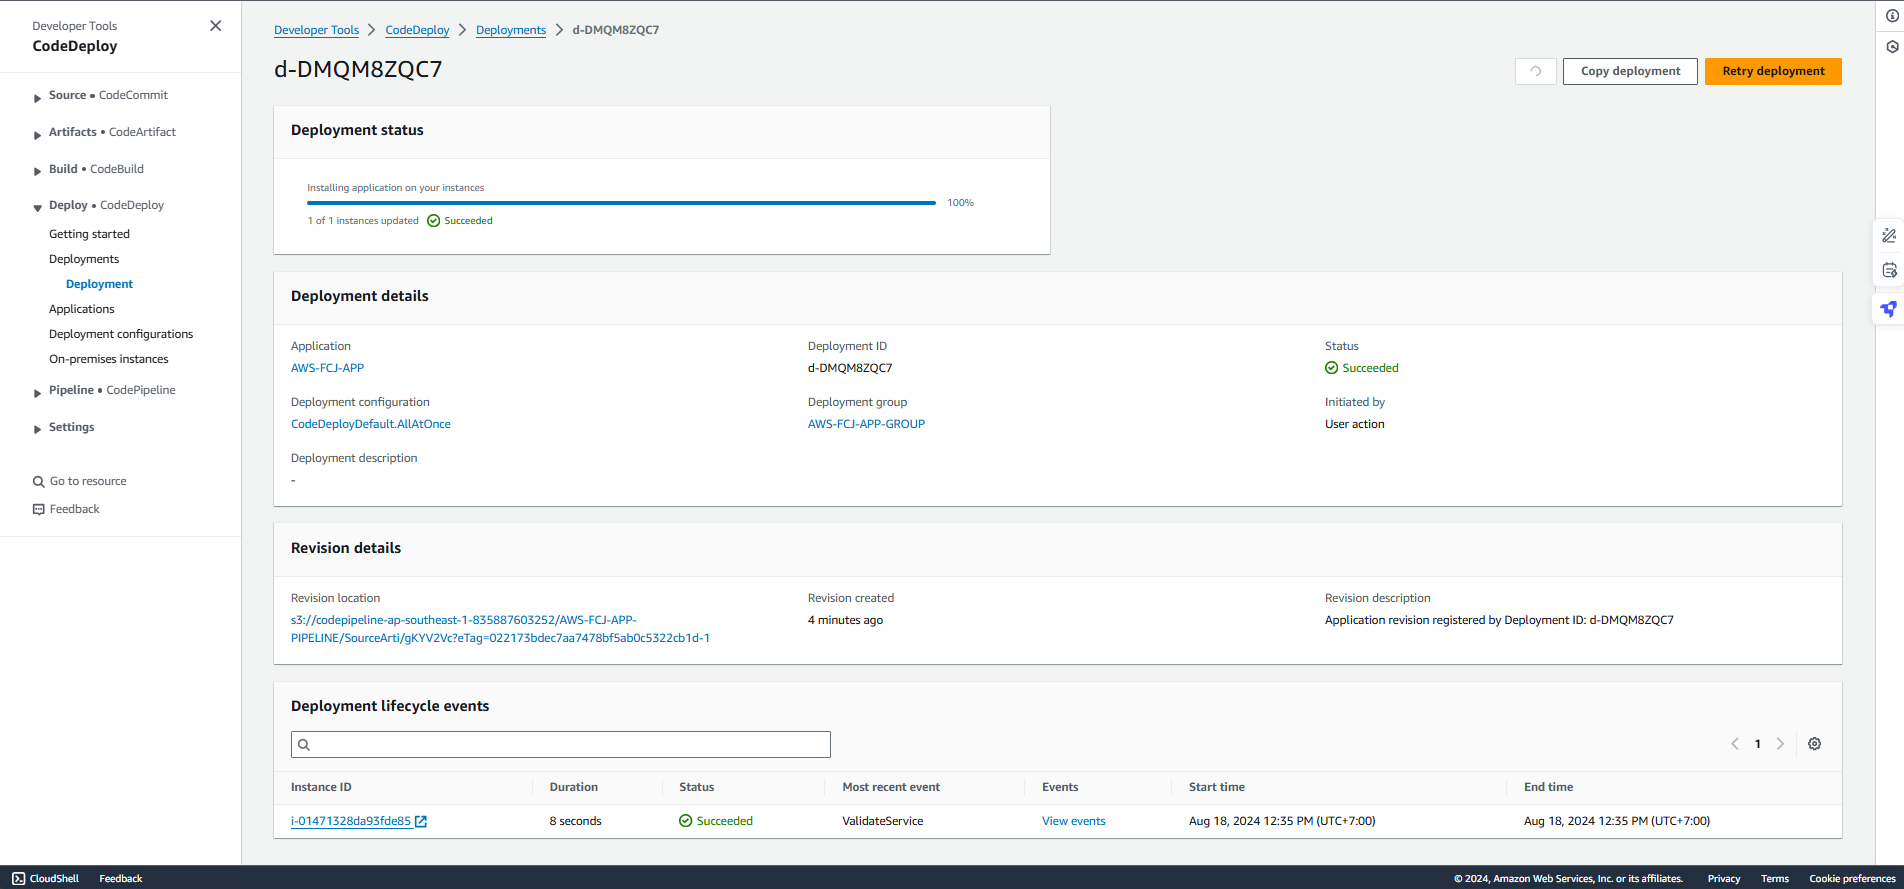
- Wait a few moments. If everything is configured correctly, your deployment status will change to Succeeded.

- You can explore the deployment history to see details about the deployment lifecycle events.
If the deployment fails, click on the View events link next to the failed instance to see exactly which lifecycle event (BeforeInstall, ApplicationStart) failed and view the error logs.
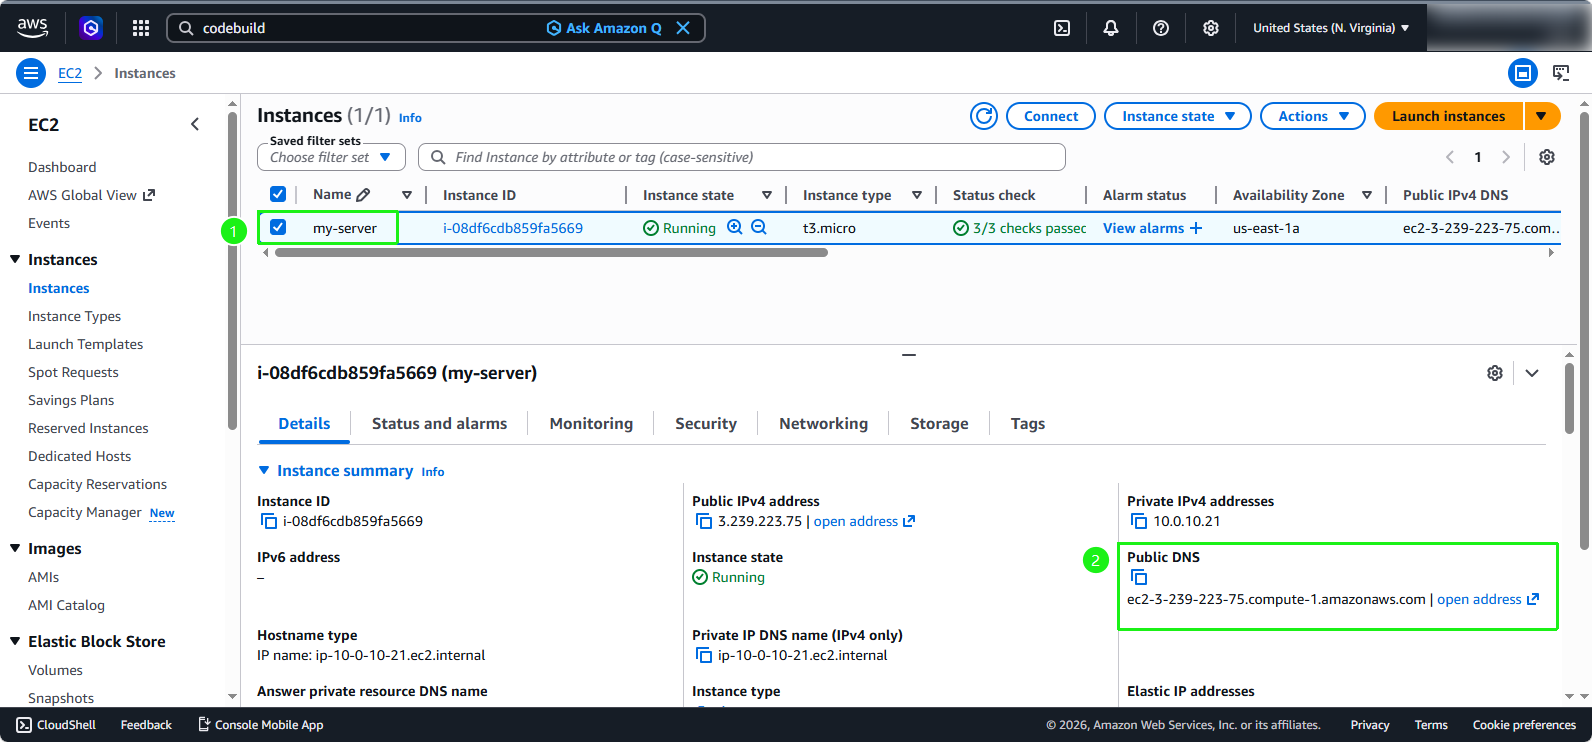
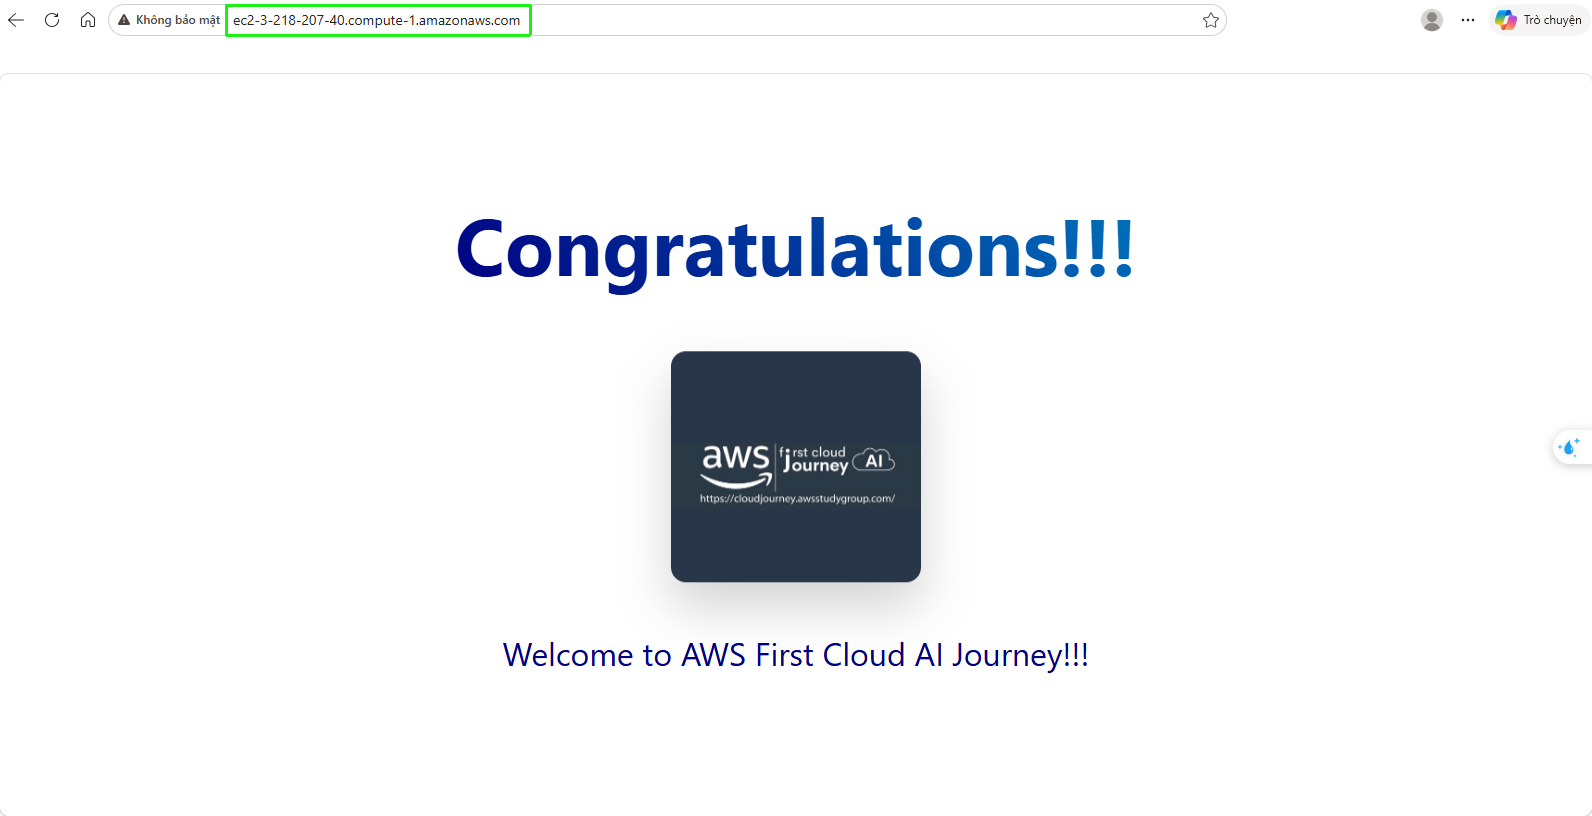
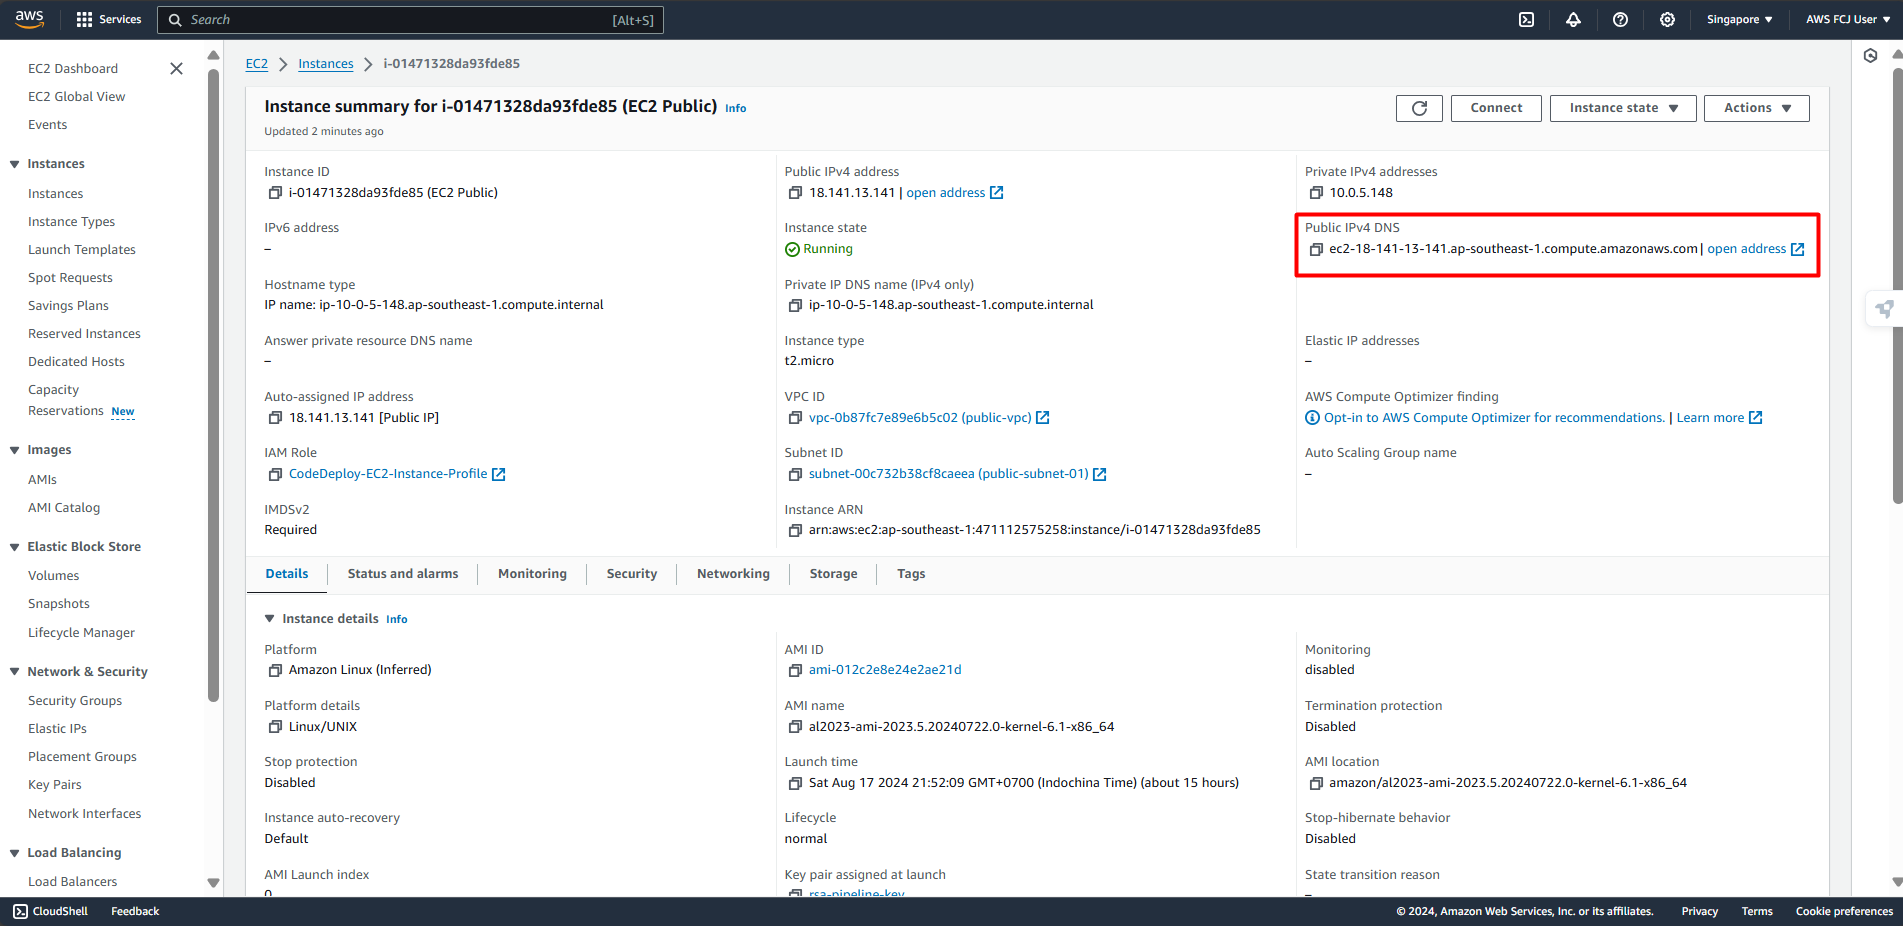
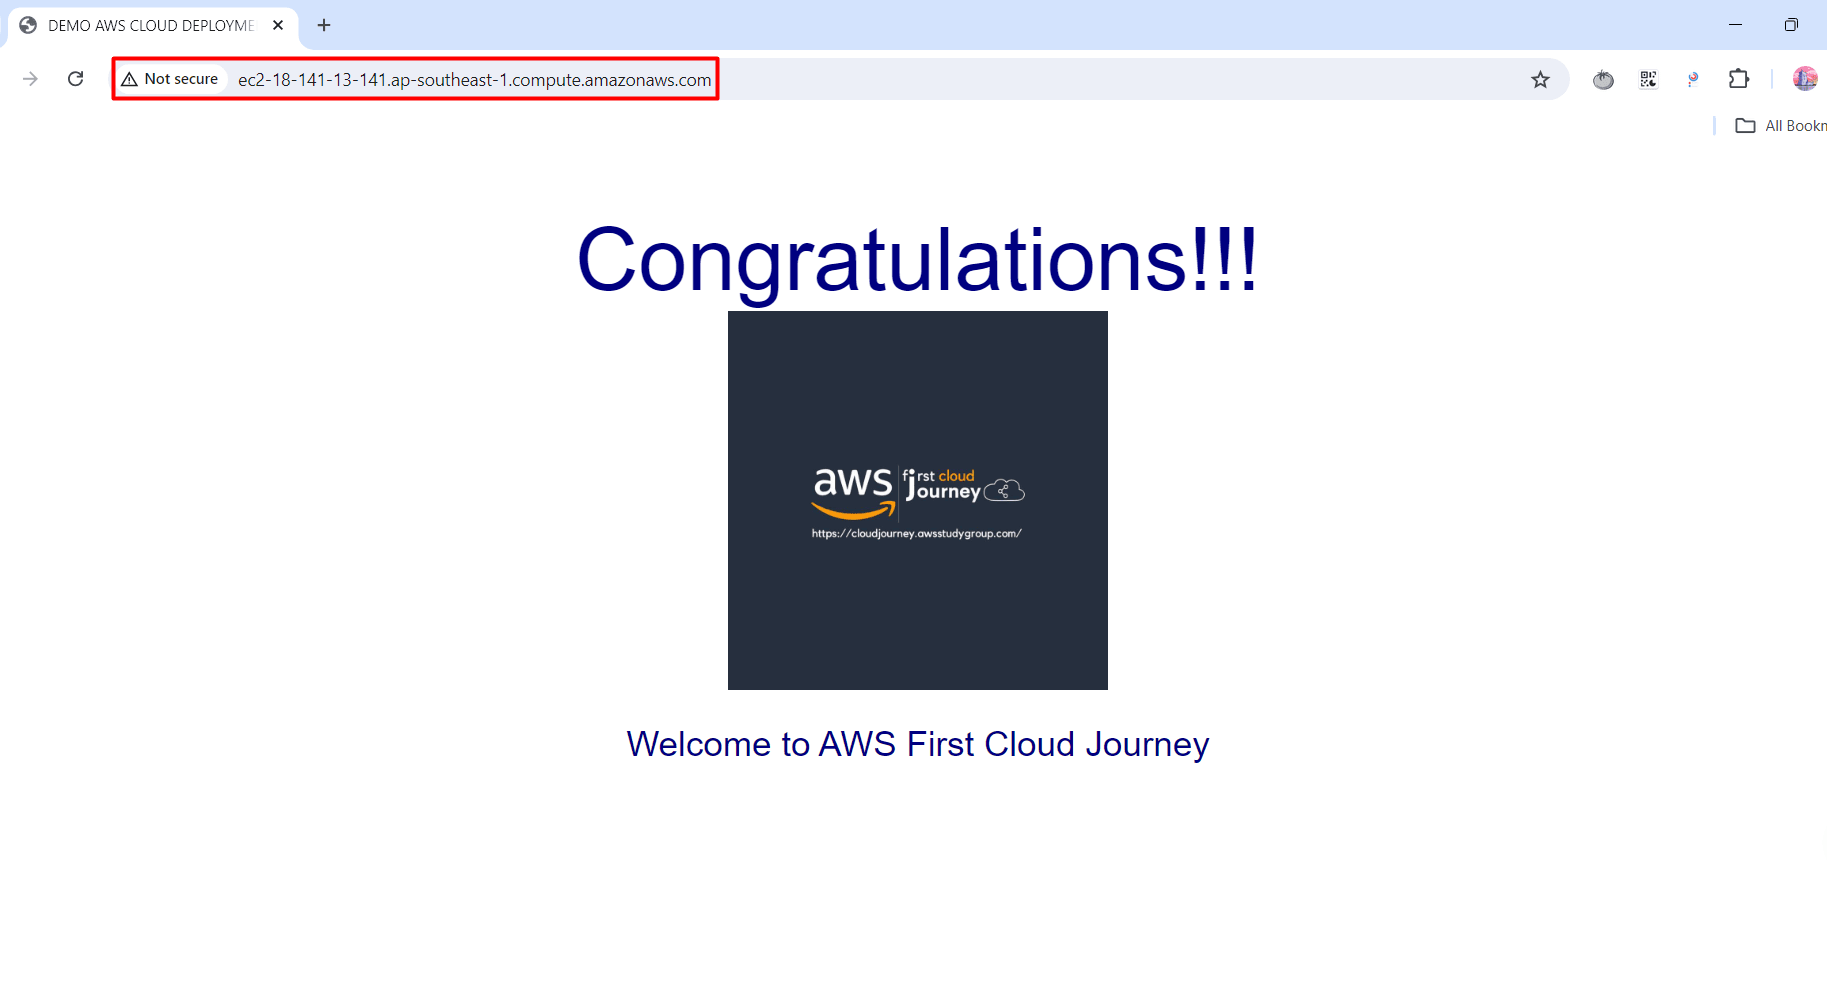
- Go to the EC2 console, select your instance (my-server), and copy its Public IPv4 DNS or Public IPv4 address. Paste it into a web browser to access your deployed application!